


Okay, so I’ve always wanted to try fixing up an old baseball. You know, the ones that are all scuffed up and have a seam or two busted? I finally got around to giving it a shot, and let me tell you, it was a bit of a learning curve, but pretty satisfying in the end!
Getting Started
First, I grabbed the sorry-looking baseball from my garage. It had definitely seen better days. I also made sure I had:

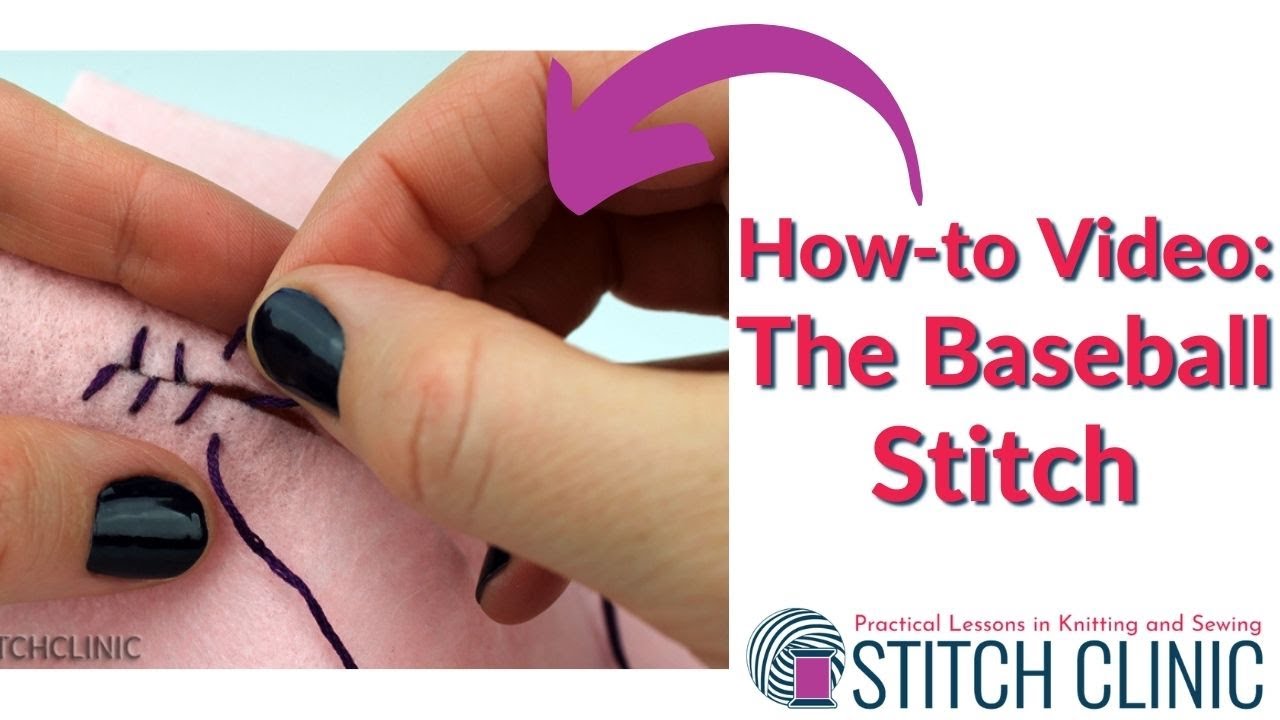
- A curved needle: This is key, a straight one just won’t work.
- Some strong, waxed thread: I used red because, well, that’s what I had, and it looks kinda classic.
- Scissors: For cutting the thread, obviously.
- Patience: This is not a 5-minute project.
The Stitching Process
I started by finding the loose ends of the broken seam. Then, I carefully threaded my needle with a good length of the waxed thread. I tied a knot at the end, making sure it was nice and secure.
The actual stitching part was tricky at first. I pushed the needle through one side of the leather, near the existing hole, and then brought it up through the corresponding hole on the other side. The curved needle was essential here – it allowed me to get the right angle.
I kept repeating this, going back and forth, creating a new stitch alongside the old, broken ones. The trick is to pull the thread tight after each stitch, but not too tight, or you risk ripping the leather. I definitely learned that the hard way on one stitch (oops!).
I tried using the existing holes. Some are easy to be found, but others are hard to locate. I carefully poked around it.
It took a while, and honestly, my fingers got a little sore. But I kept going, slowly but surely closing up the seam. When I reached the end, I tied off the thread with a couple of good knots, snipped off the excess, and…voila!
The Result
It’s not perfect, not by a long shot. The stitching is a little uneven in places, and the red thread is pretty obvious. But, it’s way better than it was before. The ball is whole again, and I actually feel pretty proud of myself for fixing it up. I even tossed it around a bit – it held up just fine!
So, yeah, that’s my baseball stitching adventure. If you’ve got an old ball lying around, give it a try! It’s a fun little project, and you might just surprise yourself with what you can do.


