


Okay, here’s my personal take on wearing a tennis elbow brace, written in a casual, blog-style format:
So, I’ve been battling some nasty tennis elbow lately – even though I haven’t touched a racket in ages! It’s probably from all the typing and mousing I do. Anyway, my doctor recommended a brace, and I figured I’d share my experience, ’cause figuring this thing out was a little trickier than I expected.
Getting Started
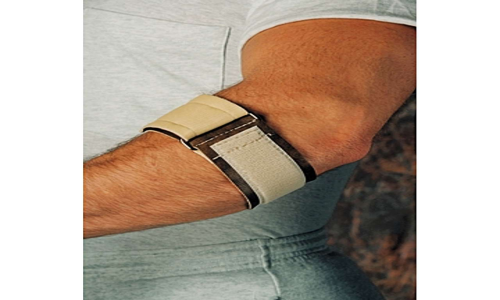
First, I got myself a brace. Seem obvious don’t it? There are tons of different types out there, but I went with a simple strap-style one. It seemed less bulky than the full-sleeve versions.
Figuring Out the Placement
This is where I messed up at first. I initially put the brace right on the pointy, most painful part of my elbow. Nope! That’s not where it goes.
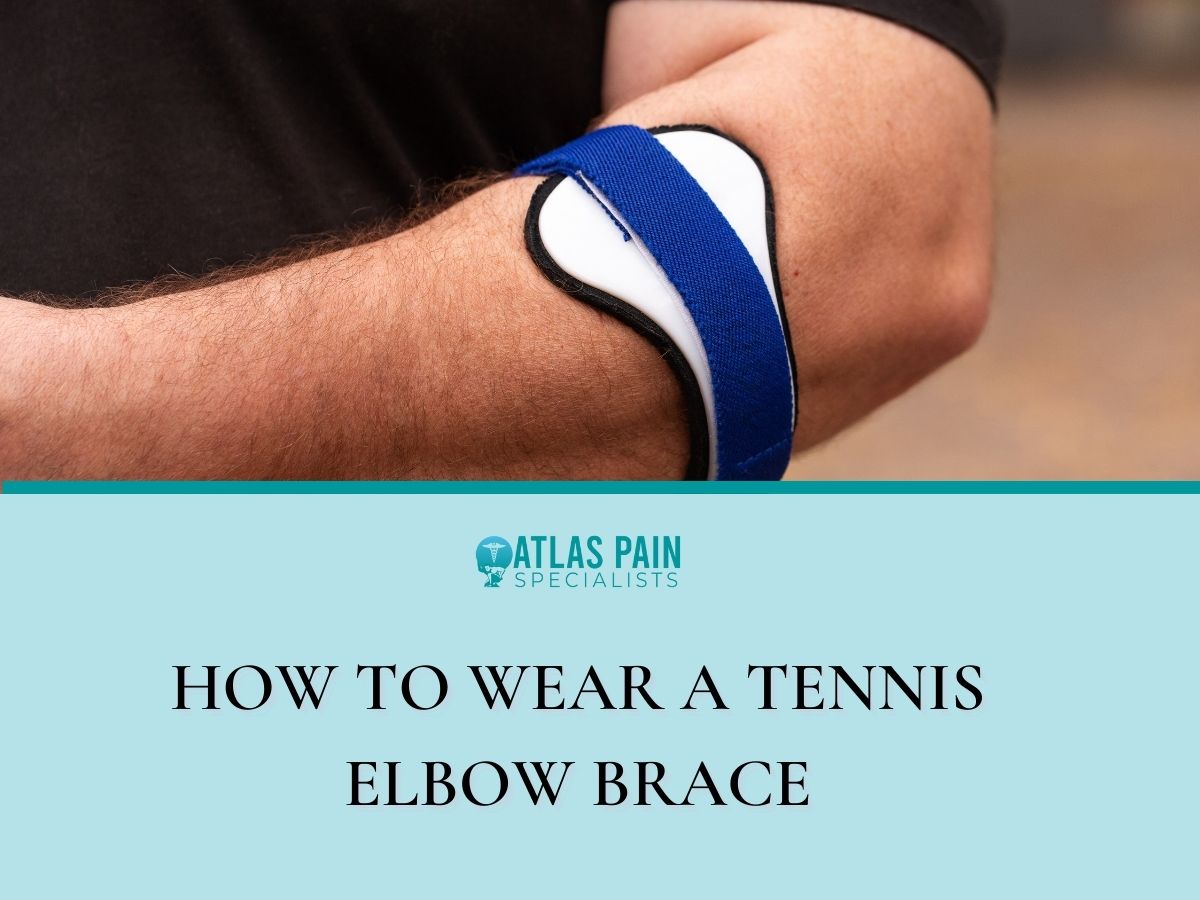
The trick, I learned, is to find the spot about two finger-widths below your elbow bone, on the outside of your forearm. That’s where the muscles that cause the pain are located. So, I measured it out, maybe an inch or two down from the actual elbow joint.
Strapping It On
- I made sure my arm was relaxed and slightly bent.
- Then, I placed the padded part of the brace directly on that spot I just found, on the outside of my forearm.
- I then wrapped the strap around my arm. I pulled it snug, but not too tight. It should feel supportive, not like a tourniquet! You don’t want to cut off your circulation. I could still comfortably move my fingers and wrist.
The Test Drive
Once I had it on, I tried some everyday movements. I typed for a bit, picked up a coffee mug, and opened a door. The brace definitely provided some relief. It wasn’t a miracle cure, but it took the edge off the pain.
So, basically, finding the right spot is key. It’s a little lower than you might think. And don’t crank it down too tight – supportive, not strangling!

And there you have it, that’s how I successfully dealt with wearing a tennis elbow brace.


