


Okay, so I wanted to add a tennis court to my backyard, but I’m no pro builder. I figured drawing it out first would be a good start. Here’s how I did it, and trust me, if I can do it, anyone can!
Getting Started
First, I grabbed a big sheet of paper – the kind my kids use for their art projects. I also found a ruler, a pencil, and an eraser (because, let’s be real, mistakes happen). I thought about doing it on the computer, but I’m more of a hands-on kind of guy.
The Basic Rectangle
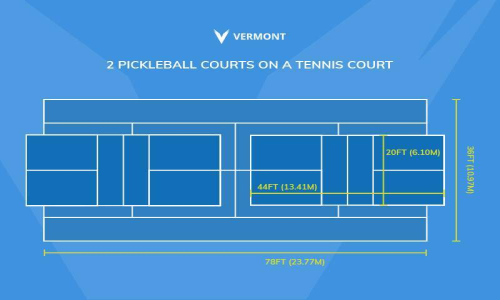
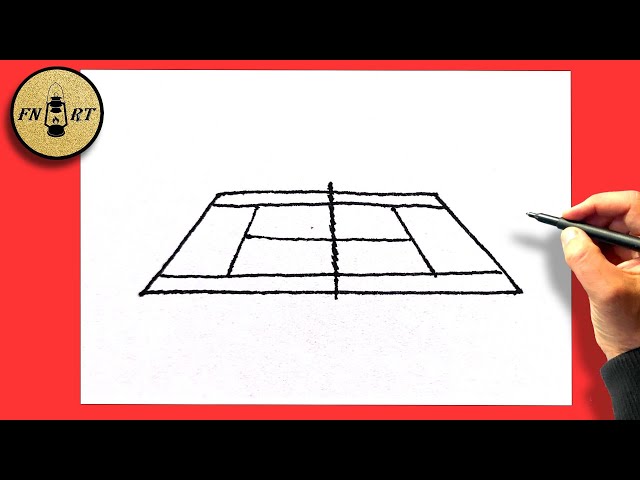
I started by drawing a big rectangle. This is the main part of the court, where all the action happens. I learned that an official tennis court is 78 feet long and 36 feet wide, these sizes just for the boundary, doesn’t include the outside space. So, I used my ruler to make sure my rectangle was scaled down but kept those proportions. I didn’t worry too much about being super exact, just wanted a good representation.
Inner Lines
-
Next, I drew a line straight down the middle, dividing the rectangle in half lengthwise. This is the net line.
-
Then, I measured and marked 21 feet from the net line on each side and drew lines across. These are the service lines.
-
I also added the center service line, which runs from the net line to the service line, splitting the service boxes in half.
-
Finally I drew the doubles sidelines, which are 4.5 feet in from the singles sidelines(the outer boundary I drew at the first beginning).
The outside space
I added extra space around the rectangle, this area I should keep at least 21 feet from the baseline(the short side of that rectangle) to the wall/net, and 12 feet for the long side.
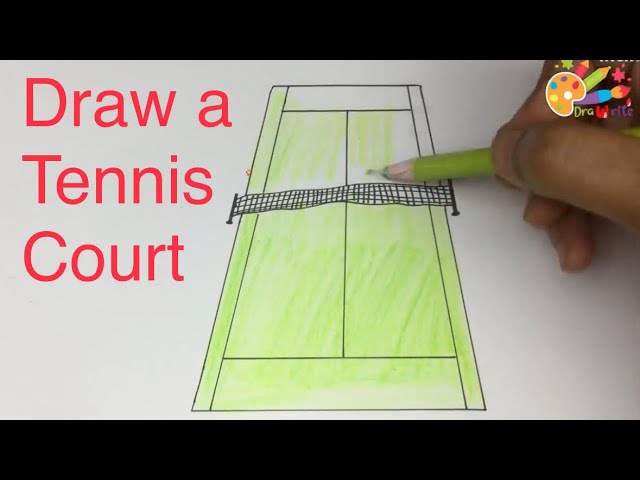
Admiring My Work (and Making Tweaks)
I stood back and looked at my drawing. It wasn’t perfect, but it looked like a tennis court! I erased a few lines and redrew them to make them straighter. I even added little circles at each corner to represent the posts. It is simple and looks not bad!


