


Okay, so I’ve been wanting to try embroidering on a baseball cap for a while now, and I finally did it! I’m not gonna lie, it was a bit tricky, but totally doable. Let me tell you how I went about it.
Getting Started
First things first, I needed a cap. I picked up a plain one from a local store – nothing fancy, just a regular, solid-colored baseball cap. Then, I gathered my other supplies.
- Embroidery hoop: I used a small, 4-inch wooden hoop.
- Needle: Just a regular embroidery needle, nothing special.
- Embroidery floss: I picked out a few colors that I thought would look good together.
- Stabilizer: This is key! I used a sticky, tear-away stabilizer.
- Scissors: For cutting the floss, of course.
- Pencil or fabric marker: To sketch out my design.
Prepping the Cap
Next, I had to prep the cap. I turned it inside out and placed the area I wanted to embroider over the inner ring of the hoop. Then, I placed the outer ring over it and tightened the screw, making sure the fabric was taut like a drum. This part was a little fiddly, I won’t lie. But it is important to make it tight.
With the cap secured in the hoop, I took my sticky stabilizer and cut out a piece slightly larger than my design. I peeled off the backing and stuck it onto the inside of the cap, right where the design was going to be. This stabilizer is a game-changer because it helps keep the fabric from stretching and distorting while you’re stitching.
Embroidering
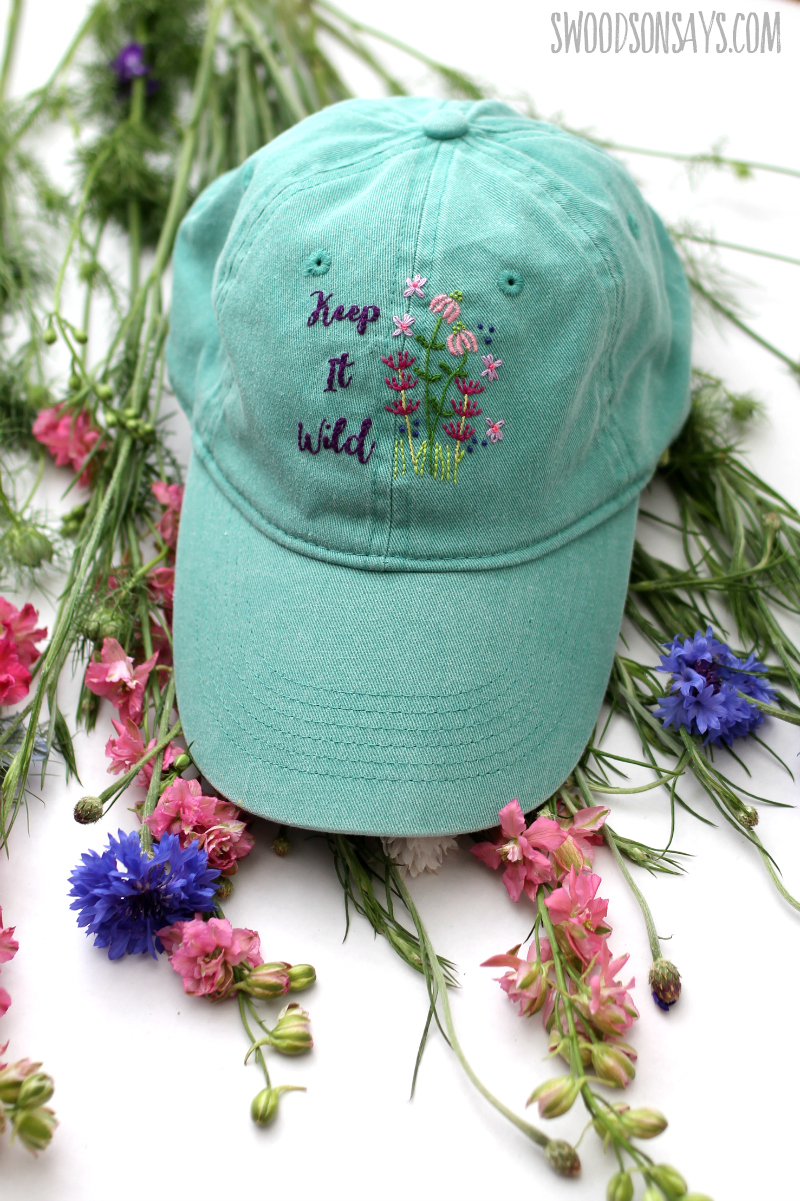
Now for the fun part – the actual embroidery! I sketched out a simple design on the cap with a pencil, I can’t draw, so it’s a very simple picture. Then, I threaded my needle with the embroidery floss and started stitching, following my sketch. I mostly used a simple backstitch, and I tried to keep my stitches small and neat. It can make the cap look better.
I’d say the hardest part was maneuvering the needle around the curve of the cap. It took some patience and a bit of practice to get the hang of it. I poked myself a few times, but hey, that’s part of the learning process, right?
Finishing Up
Once I finished my design, I tied off the floss on the inside of the cap and trimmed the excess. Then, I gently removed the cap from the hoop. The last step was to carefully tear away the stabilizer from the inside of the cap. And that’s it! I had my very own, custom-embroidered baseball cap.
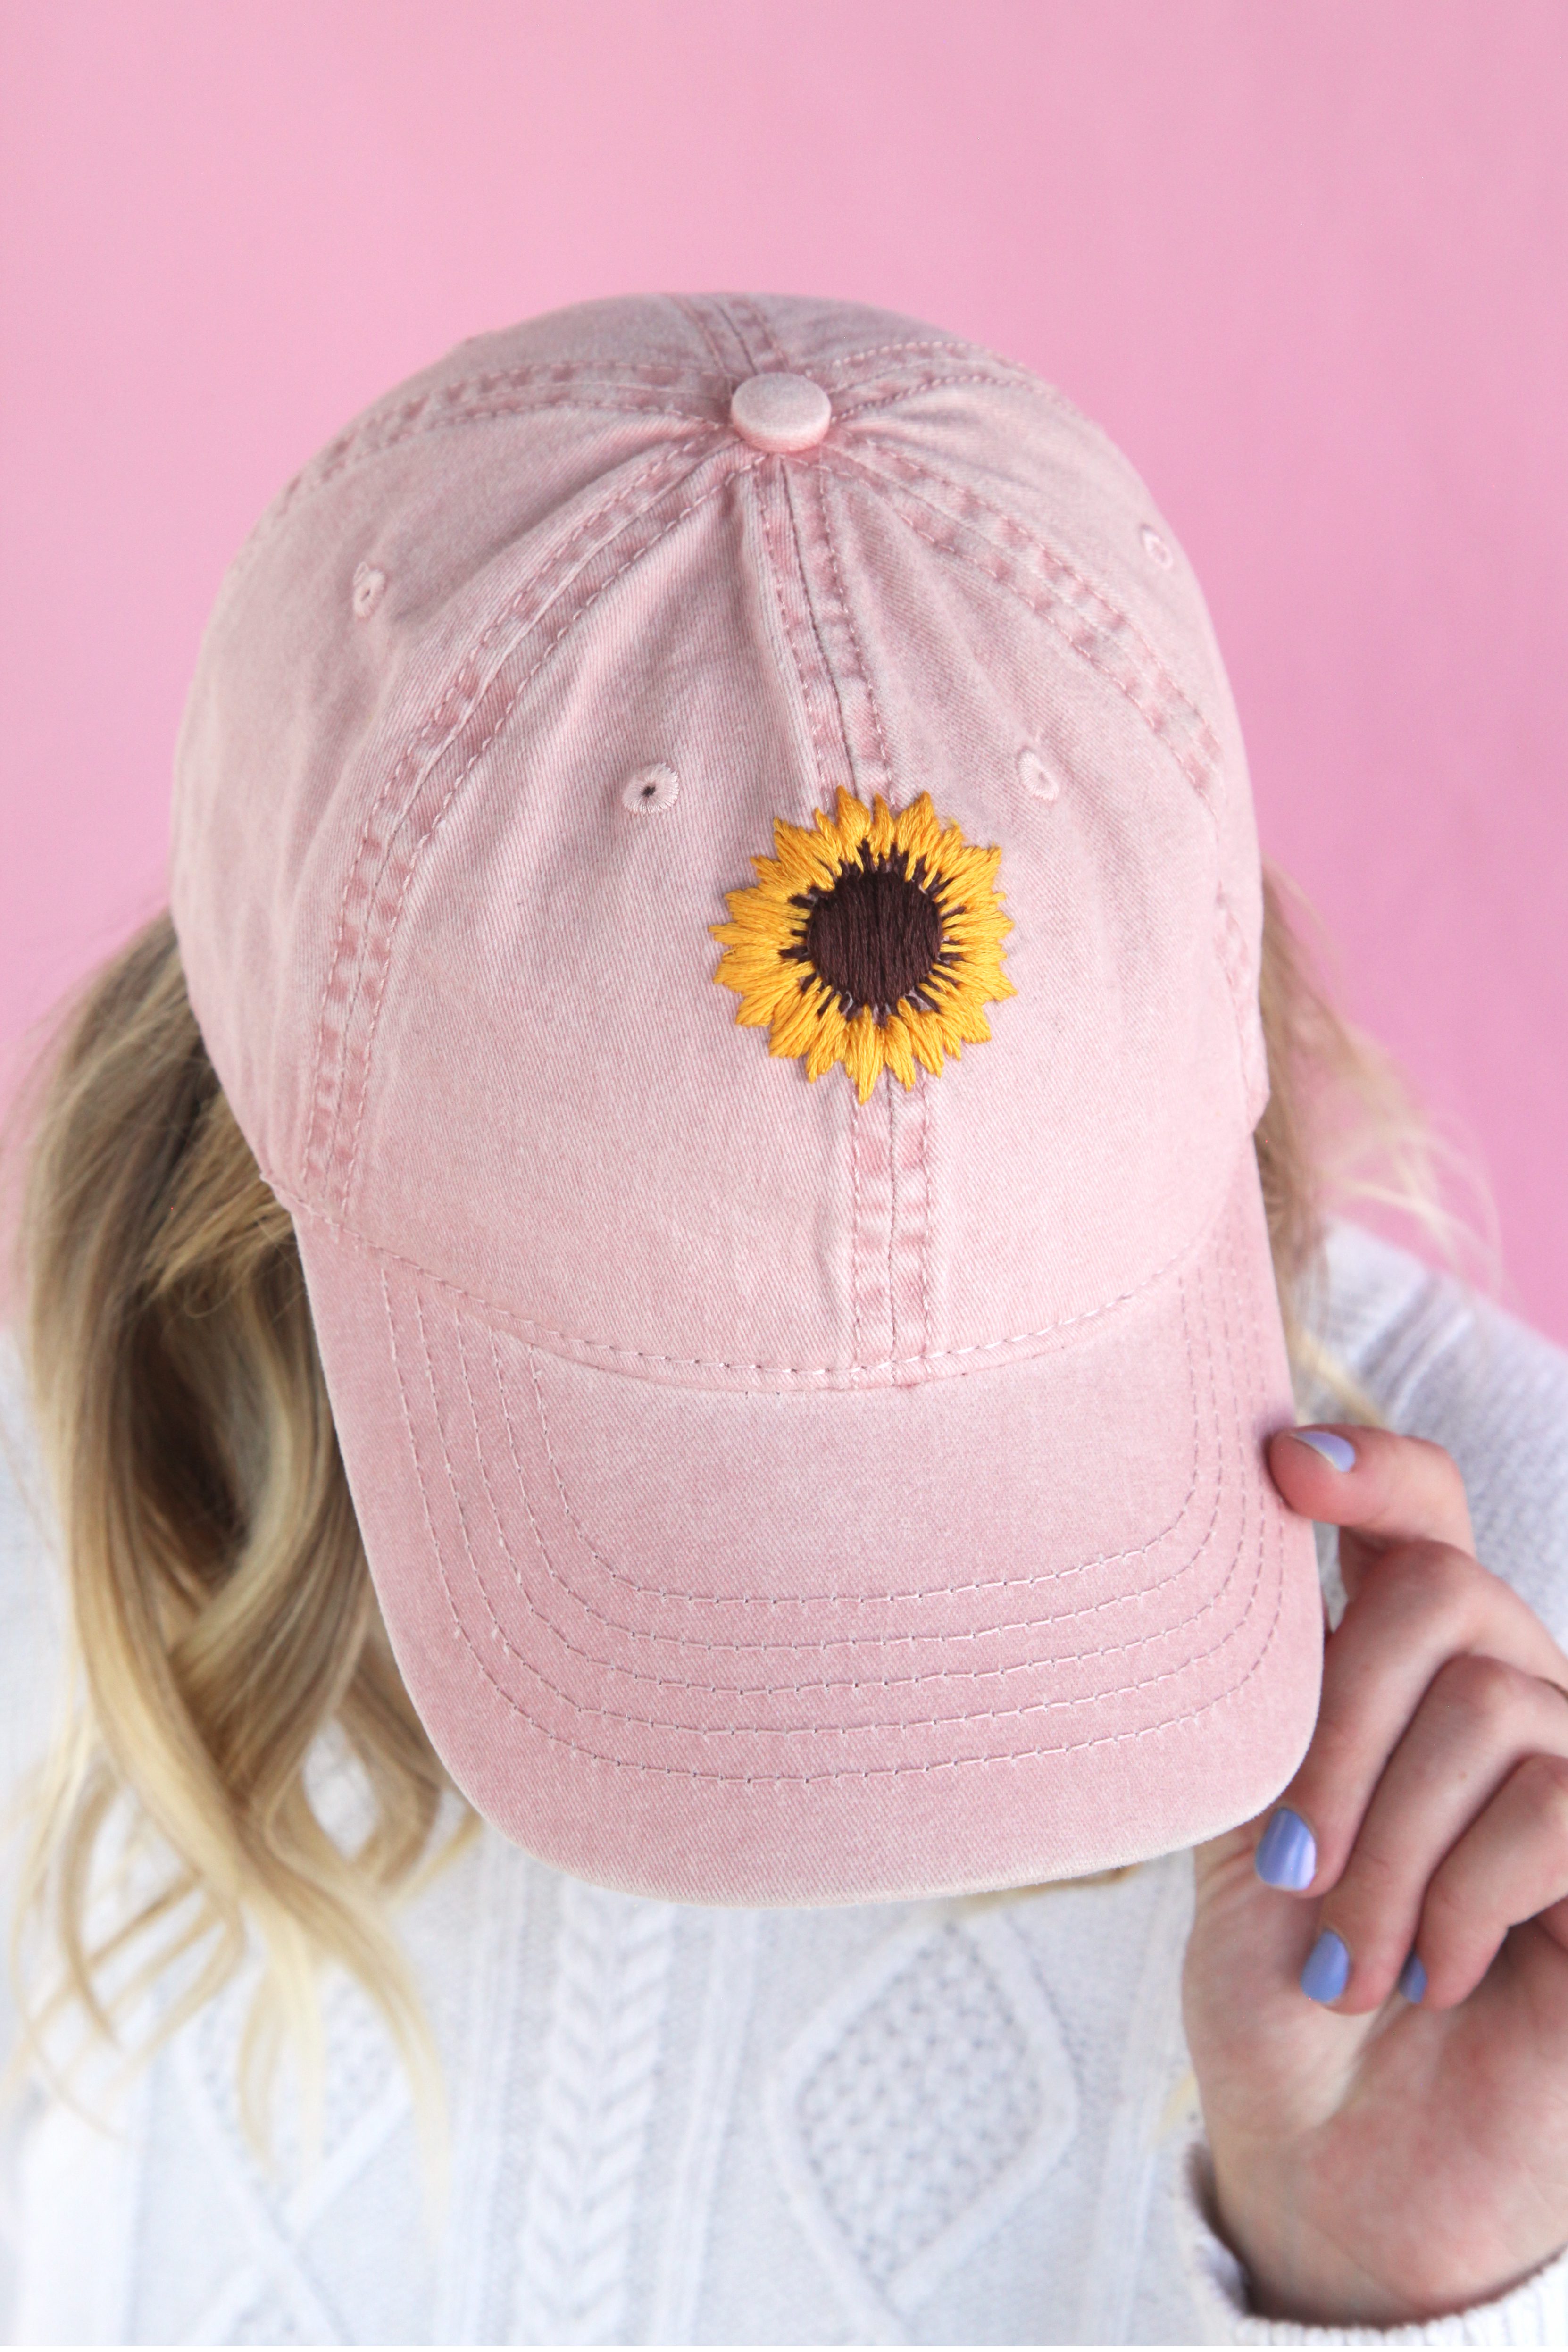
It’s not perfect, but I’m pretty proud of how it turned out. It’s a unique piece, and I learned a lot in the process. If you’re thinking about trying it, I say go for it! Just be prepared for a bit of a learning curve, and don’t be afraid to make mistakes. Have fun with it!


